

Apple Watch band size: choose the right size
Chloé
Your Apple Watch case directly determines the compatible band sizes. According to Apple, 38, 40, and 41 mm cases share the same compatibility, as do 42, 44, 45, and 46 mm cases. The Apple Watch Ultra (49 mm) has specific compatibilities. Before any purchase, check the size inscribed on the back of your watch or in Settings > General > About.
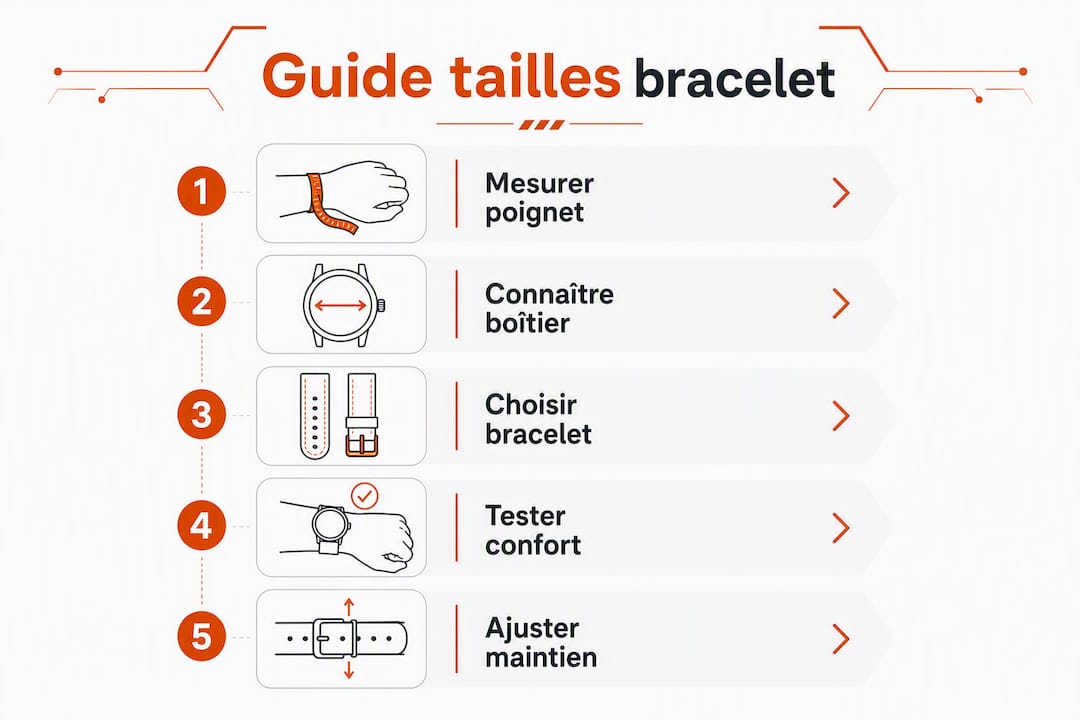
To find the right band size, measure your wrist circumference in centimeters, then refer to the conversion chart below. For Sport bands, S/M and M/L sizes generally cover ranges suitable for different wrist sizes, without precise numerical values. For the Solo Loop, numerical sizes cover different wrist circumference ranges, without specifying exact measurements in millimeters.
Key takeaway before buying: First, check your case (38/40/41 mm or 42/44/45/46 mm), measure your wrist in cm, then choose the corresponding size. If in doubt about the Solo Loop, choose the smaller size.
Table of Contents
- Which case is compatible with which band?
- How to accurately measure your wrist (3 methods)
- Which size guide depending on the band type?
- Why fit matters for sensors and comfort
- How to safely remove and install a band
- You're between two sizes: what to do?
- Key points
- What band size reveals about how you wear your watch
- Compatible bands delivered in 48 hours, with hassle-free returns
- Useful sources and official links
Which case is compatible with which band?
Apple specifies that the case size determines the band width. Here's a summary of the official compatibility groups.
| Apple Watch Case | Compatible Bands | Notes |
|---|---|---|
| 38 mm (Series 1–3) | 38/40/41 mm | Interchangeable between generations |
| 40 mm (Series 4–6, SE) | 38/40/41 mm | Interchangeable |
| 41 mm (Series 7–8) | 38/40/41 mm | Interchangeable |
| 42 mm (Series 1–3) | 42/44/45/46 mm | Interchangeable between generations |
| 44 mm (Series 4–6, SE) | 42/44/45/46 mm | Interchangeable |
| 45 mm (Series 7–8) | 42/44/45/46 mm | Interchangeable |
| 46 mm (Series 10) | 42/44/45/46 mm | Interchangeable |
| 49 mm (Ultra 1 & 2) | Specific Ultra bands | Some 45/44 mm compatible depending on use |
A few practical points to keep in mind:
- Bands designed for Generation 1 or Series 1–3 can still be used on recent models, provided the size group is respected.
- The Apple Watch Ultra accepts some 45 mm bands, but bands designed for the Ultra are optimized for intense activities.
- To check your case size without removing the watch: Settings > General > About > Case Size.
To learn more about compatibility with recent models, the Clipz-it guide on Series 10 details 42 and 46 mm sizes with purchasing recommendations.
How to accurately measure your wrist (3 methods)
Accurately measuring your wrist circumference prevents most purchasing errors. Three methods work well, depending on what you have on hand.
-
Flexible tape measure (most reliable method). Wrap a sewing tape measure around your wrist, just above the bone. Do not overtighten; allow for a slight gap. Note the measurement in centimeters. Repeat twice to confirm.
-
String + ruler. Wrap a string or a strip of paper around your wrist, mark the junction point with a pen, then measure the length flat with a ruler. Convert to centimeters if necessary.
-
Calibration with an existing Sport band. If you already wear an Apple Watch Sport band, identify the hole you usually use. WatchGeneration reports that this position corresponds to a precise wrist circumference range, allowing you to choose the Solo Loop size without printing a paper template. This method also avoids errors related to poorly calibrated printing.
Some common mistakes to avoid:
- Measuring on the wrist bone instead of above it.
- Tightening the tape measure, which gives a smaller-than-actual measurement.
- Measuring only in the morning: the wrist can swell slightly during the day or after exercise.
Pro tip: If your measurement falls exactly between two sizes for the Solo Loop, Apple recommends choosing the smaller size to ensure sensor contact.

Which size guide depending on the band type?
Wrist circumference ranges vary depending on the band type. This table covers the most common formats.
| Band Type | Size | Indicative Wrist Circumference |
|---|---|---|
| Milanese / Link | Adjustable | Continuous adjustment or link removal |
Notes by material:
- Silicone (Sport, Bubble, Signature): Flexible, adapts well. The overlap area of the holes provides comfortable adjustment margin.
- Solo Loop and Braided Solo Loop: These bands can stretch slightly over time, which reinforces the importance of choosing the smaller size if in doubt.
- Steel and link: Precise adjustment possible by removing links at a jeweler's or with an appropriate tool. Consult the guide on steel bands for adjustment details.
- Ultra (49 mm): Dedicated bands are designed for reinforced support during intense activities. Some 45 mm bands remain compatible, but check the product description before purchasing.
Why fit matters for sensors and comfort
A poorly fitting band is not just about discomfort. Apple states that the back of the watch must remain in contact with the skin for the sensors (heart rate, wrist detection) to function correctly.
Concrete consequences depending on the type of problem:
- Too loose: the watch slips, the optical sensor loses contact with the skin, heart rate data becomes inaccurate.
- Too tight: prolonged discomfort, skin marks, risk of impeding circulation over long periods.
- Well-fitting: the watch stays put without moving, the skin is not compressed, and you can slide a finger under the band without forcing.
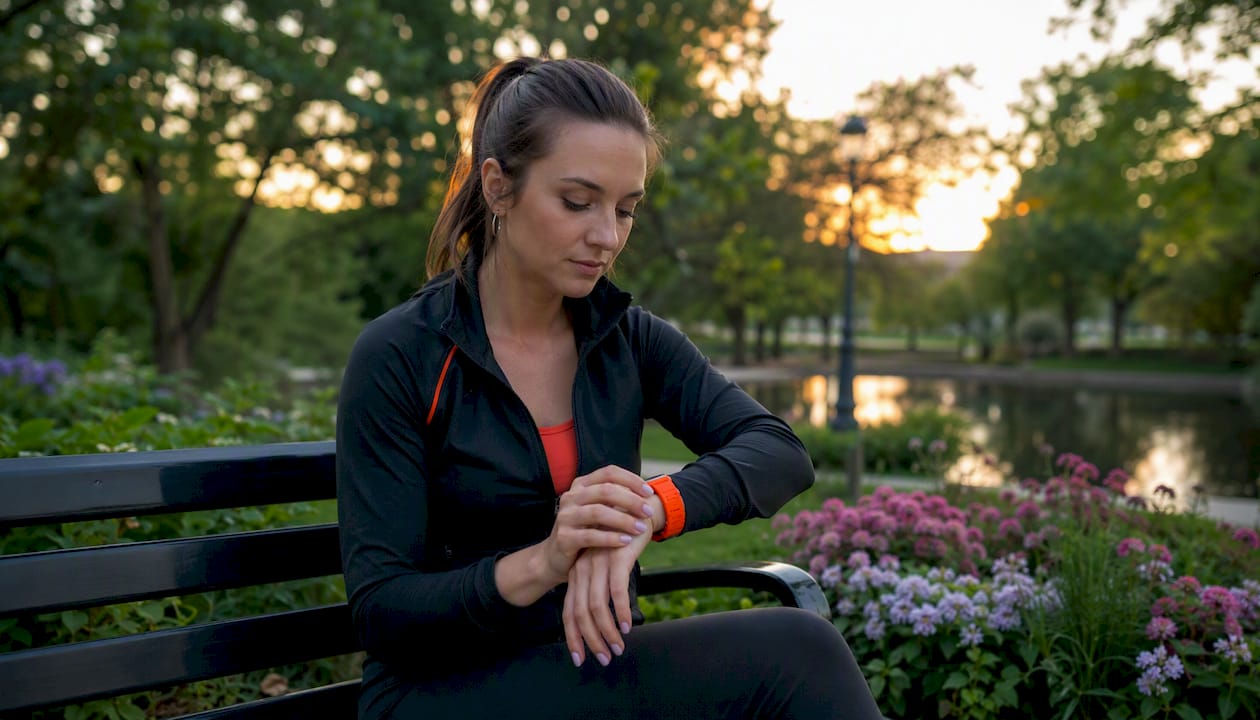
To check the daily fit, place the watch on top of your wrist and check that it doesn't rotate laterally when you move your hand. At rest, a slight play is normal and even desirable.
Pro tip: During intense physical activity, recheck the band's fit after 10 to 15 minutes of effort. Perspiration and wrist swelling can alter the initial fit.
How to safely remove and install a band
The official procedure is simple and requires no tools. Here are the steps in order.
To remove a band:
- Place the Apple Watch face down on a clean, non-abrasive surface.
- Press the band release button (located on the side of the case).
- Slide the band sideways to disengage it. Do not force it.
- Repeat on the other side to remove the other half.
To install a new band:
- Align the band with the case's fastening rail.
- Slide it until you hear or feel a locking click.
- Gently tug on the band to confirm it is securely fastened.
A few useful precautions:
- Never force it if the band resists: check the alignment before trying again.
- Some bands (Modern Buckle, Milanese Loop) have a slightly different mechanism; consult Apple support for full visual instructions.
- For a step-by-step tutorial with photos, the Clipz-it guide on changing bands covers all types of attachments.
You're between two sizes: what to do?
This situation is common, especially for the Solo Loop and Sport bands. Here's how to decide.
- Sport Band (silicone) — if you usually use the middle hole on an existing band, your current size is suitable. If you use the first or last hole, switch to the adjacent size.
- Steel or Milanese links — adjustment is continuous or by removing links. Prefer a slightly longer band, which a jeweler can shorten.
Before buying, check the seller's return policy. Clipz-it offers filters by model and size on its store, as well as a simple return policy if the size doesn't fit. Changing the band type (e.g., switching from a Sport to a Milanese) changes the feeling of tightness: re-evaluate the fit with each material change.
Key points
Measuring your wrist in centimeters and checking case compatibility are the two essential steps before purchasing any Apple Watch band.
| Point | Details |
|---|---|
| Case Compatibility | 38/40/41 mm cases share one group, 42/44/45/46 mm another; Ultra has its own compatibilities. |
| Wrist Measurement | Measure above the wrist bone with a flexible tape, without tightening, in centimeters. |
| Solo Loop | If in doubt between two sizes, choose the smaller size to maintain sensor contact. |
| Optimal Fit | The watch should touch the skin without compressing; a finger should pass under the band without forcing. |
| Clipz-it | Filters by model and size, simple returns, and 48-hour delivery to test the right size without risk. |
What band size reveals about how you wear your watch
The issue of band size is often treated as a purely technical problem, a matter of centimeters and charts. But the real challenge lies elsewhere: a poorly fitting band eventually stops being worn. Health data becomes useless, and the watch stays on the nightstand.
What most guides don't explain is that the feeling of tightness changes radically depending on the material. A silicone Sport band for a 17 cm wrist circumference does not wear like a Milanese Loop adjusted to the same measurement. Silicone stretches slightly; steel does not move. This means that you need to re-evaluate the fit with each change of band type, not just at the initial purchase.
The other underestimated angle: the Braided Solo Loop stretches. Not dramatically, but enough so that the size chosen in September might be too loose by January. Choosing the smaller size is not an excessive precaution; it's the logical recommendation once you understand the material's behavior.
— sruickisbusy
Compatible bands delivered in 48 hours, with hassle-free returns
Clipz-it offers a selection of Apple Watch bands filtered by model and case size, from sweat-proof sport silicone to titanium options for active users. Each product page indicates wrist circumference ranges in centimeters and available sizes (S/M, M/L or numerical sizes for Loops).
Delivery is guaranteed within 48 hours in France. If the size is not suitable upon receipt, the return policy is simple and straightforward. For users who hesitate between two sizes or who change band types, this provides a concrete guarantee to test without risk.
Browse the Clipz-it store and use the model filters to display only bands compatible with your case.
Useful sources and official links
- Apple Support — Change your Apple Watch band: official compatibilities by case and removal procedure.
- Apple Support — Remove, change, or adjust your Apple Watch band: complete instructions with visuals and adjustment tips for sensors.
- WatchGeneration — Solo Loop measurement guide: details on the printable Apple guide and the rule of choosing the smaller size.
- WatchGeneration — Calibration with a Sport band: practical method for choosing the Solo Loop without a paper template.
- Clipz-it Guide — Apple Watch Series 10 Straps: 42 and 46 mm sizes, purchasing recommendations for recent models.
- Clipz-it Guide — Steel, Link, and Milanese Straps: adjustments, fittings, and advice for metal straps.
Practical tip: If you don't have a flexible tape measure handy, print the official Apple measurement template (available on Apple Support) making sure the print scale is set to 100%. Printing at 95% will result in a measurement error of several millimeters.


